Configure & Use Stripe Connect & Export Transaction Reports
Learn how to efficiently update your Stripe payout schedule to a weekly cycle and export detailed transaction data. This guide simplifies account management tasks, helping you streamline your financial reporting and administrative workflows.
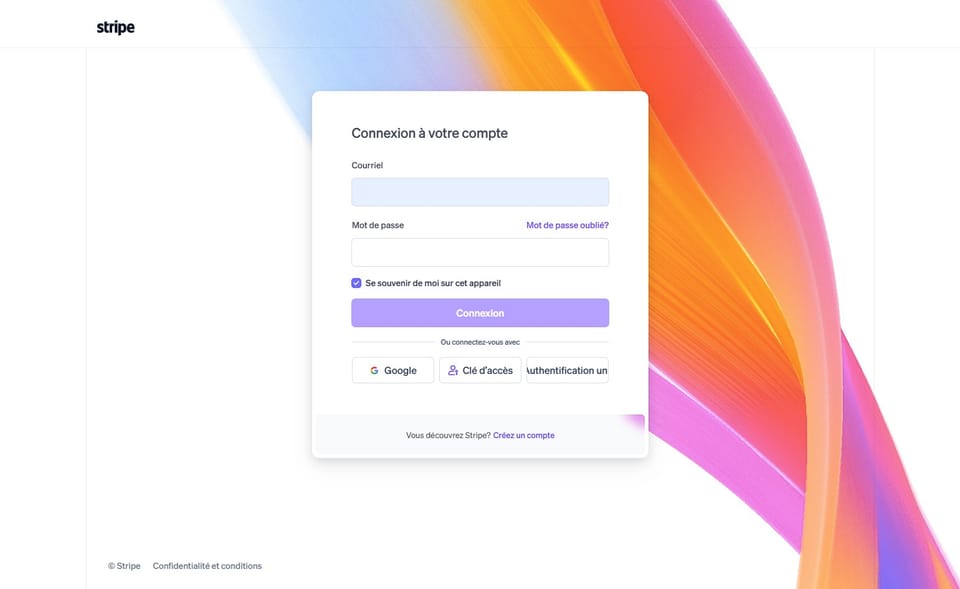
1. Navigate to https://dashboard.stripe.com/login
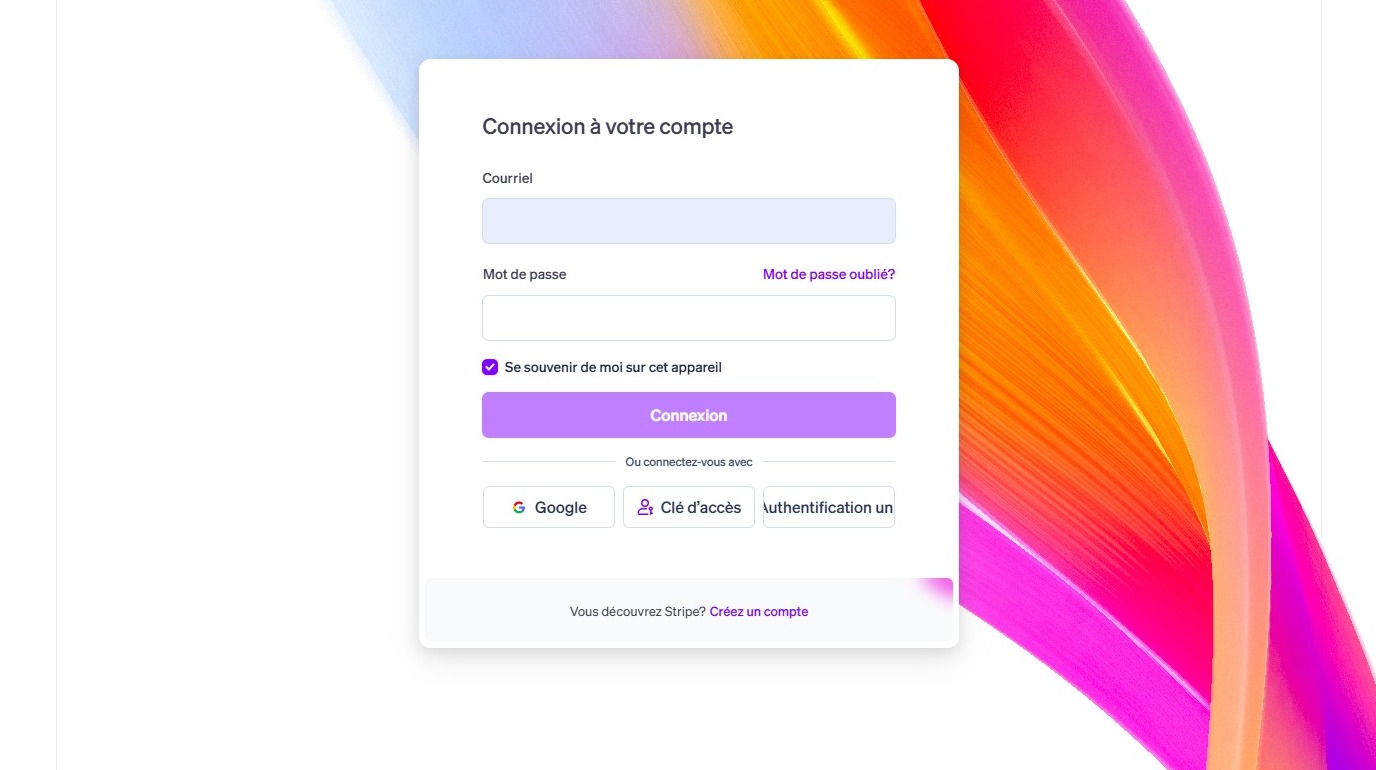
2. Enter your the email adress associated with your account and click "Connexion"
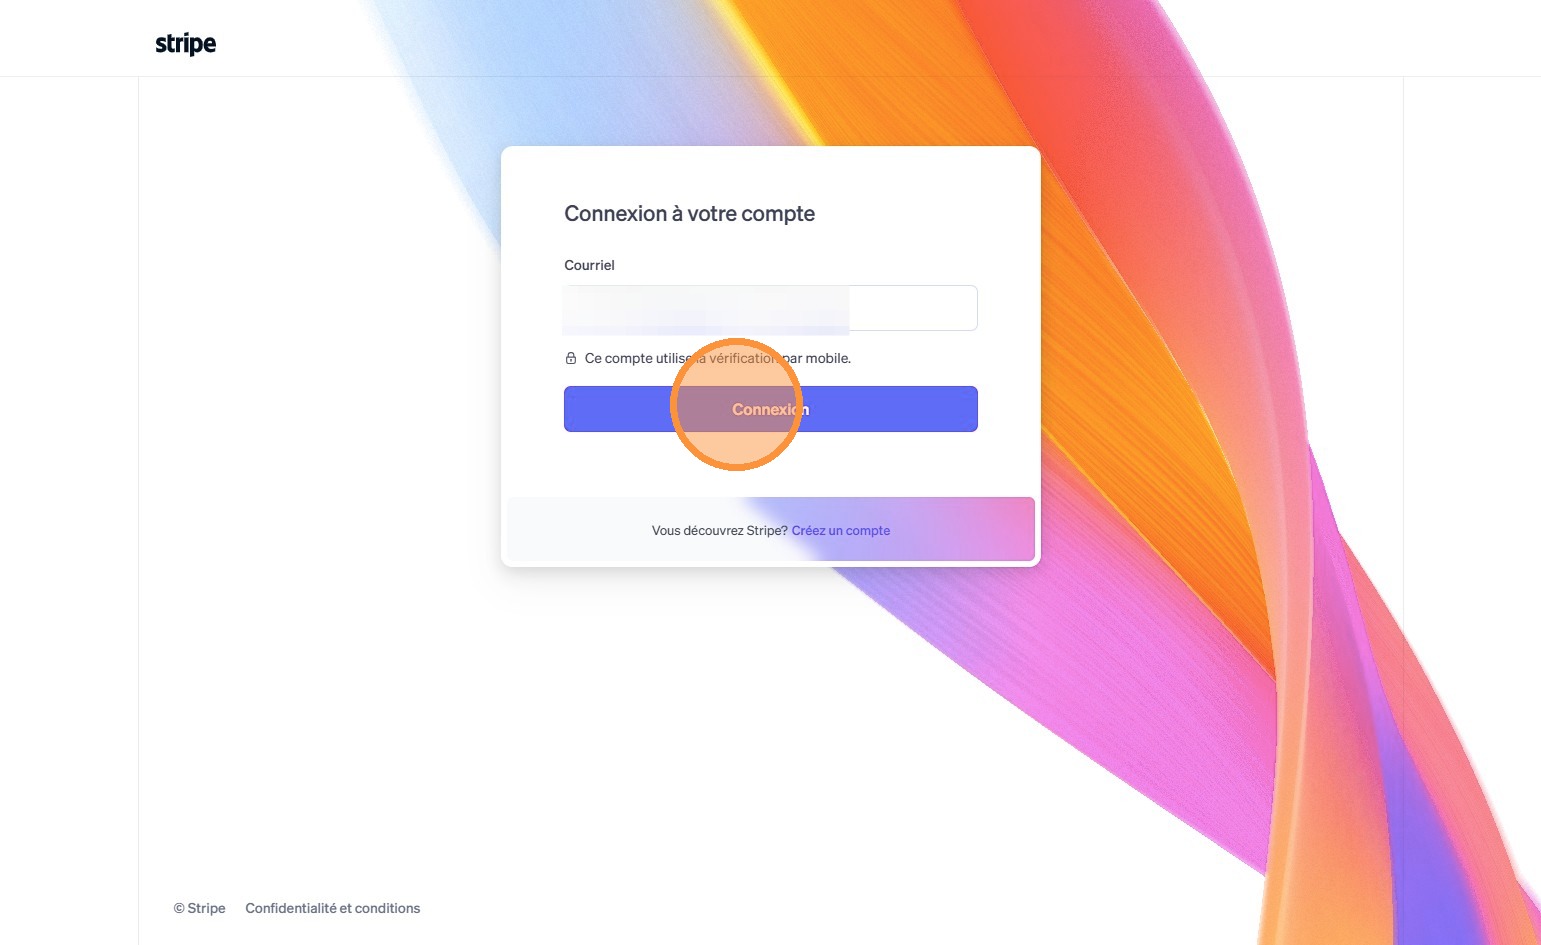
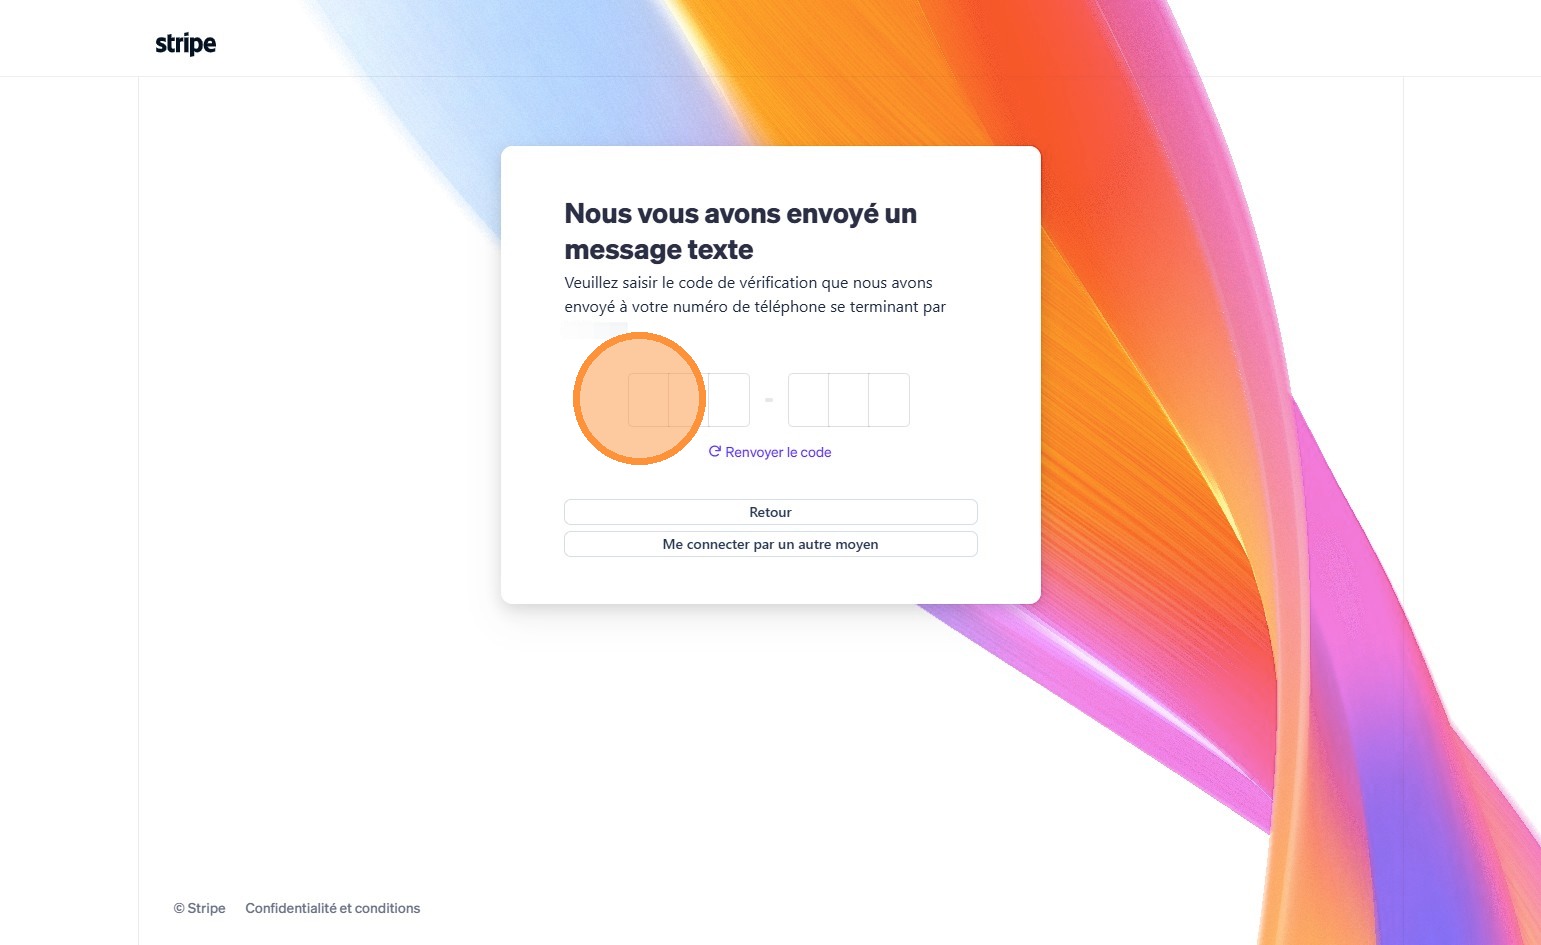
3. If 2FA is required, type the code you will receive by SMS.
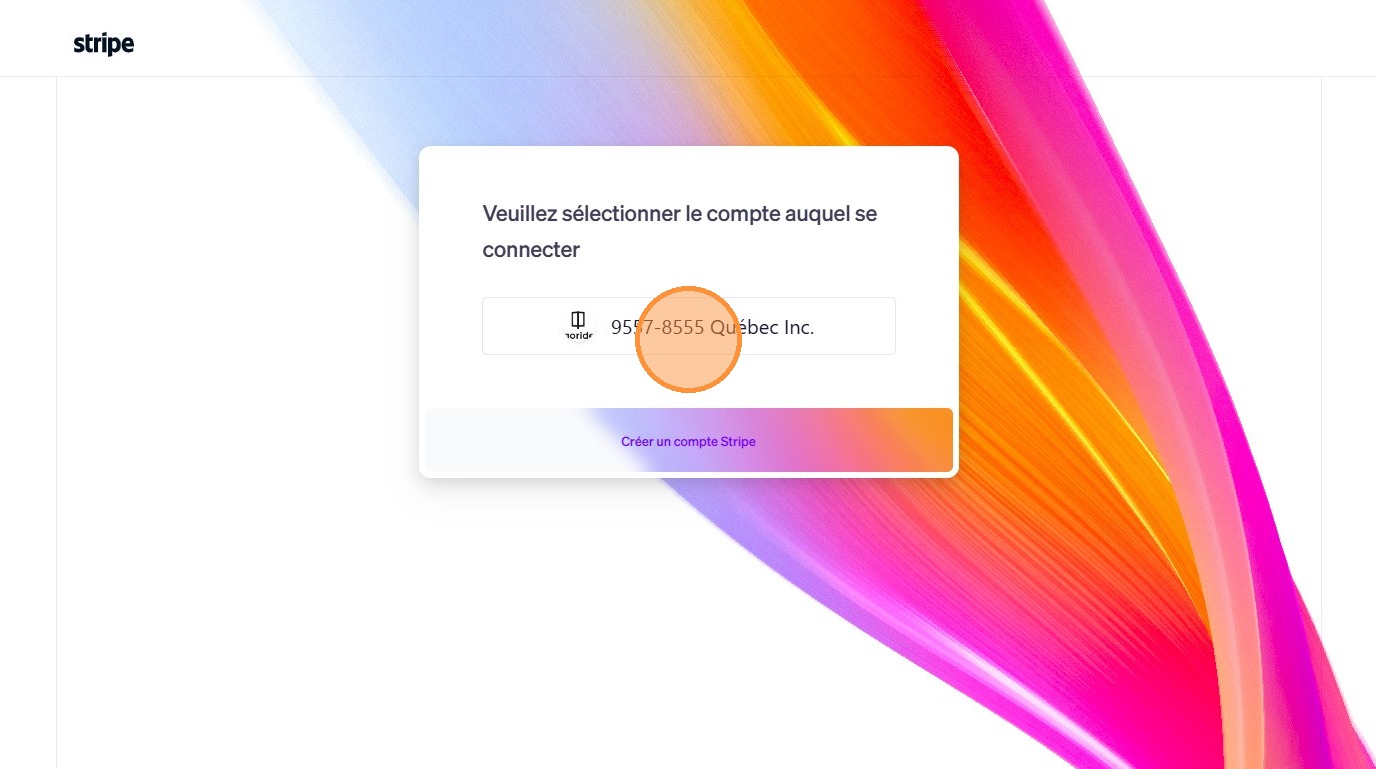
4. Click "9557-8555 Québec Inc." (That's GoRide's legal name)
Validate your email address

View and manage payouts
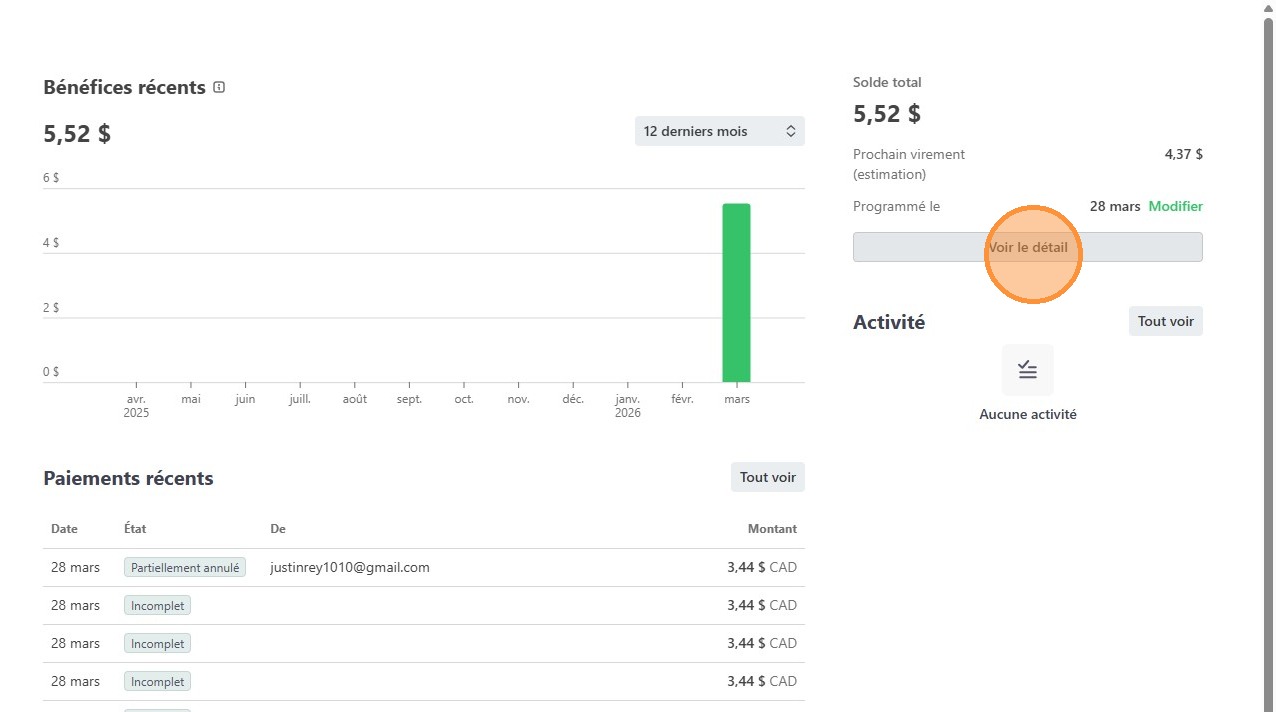
6. Click "Voir le détail"
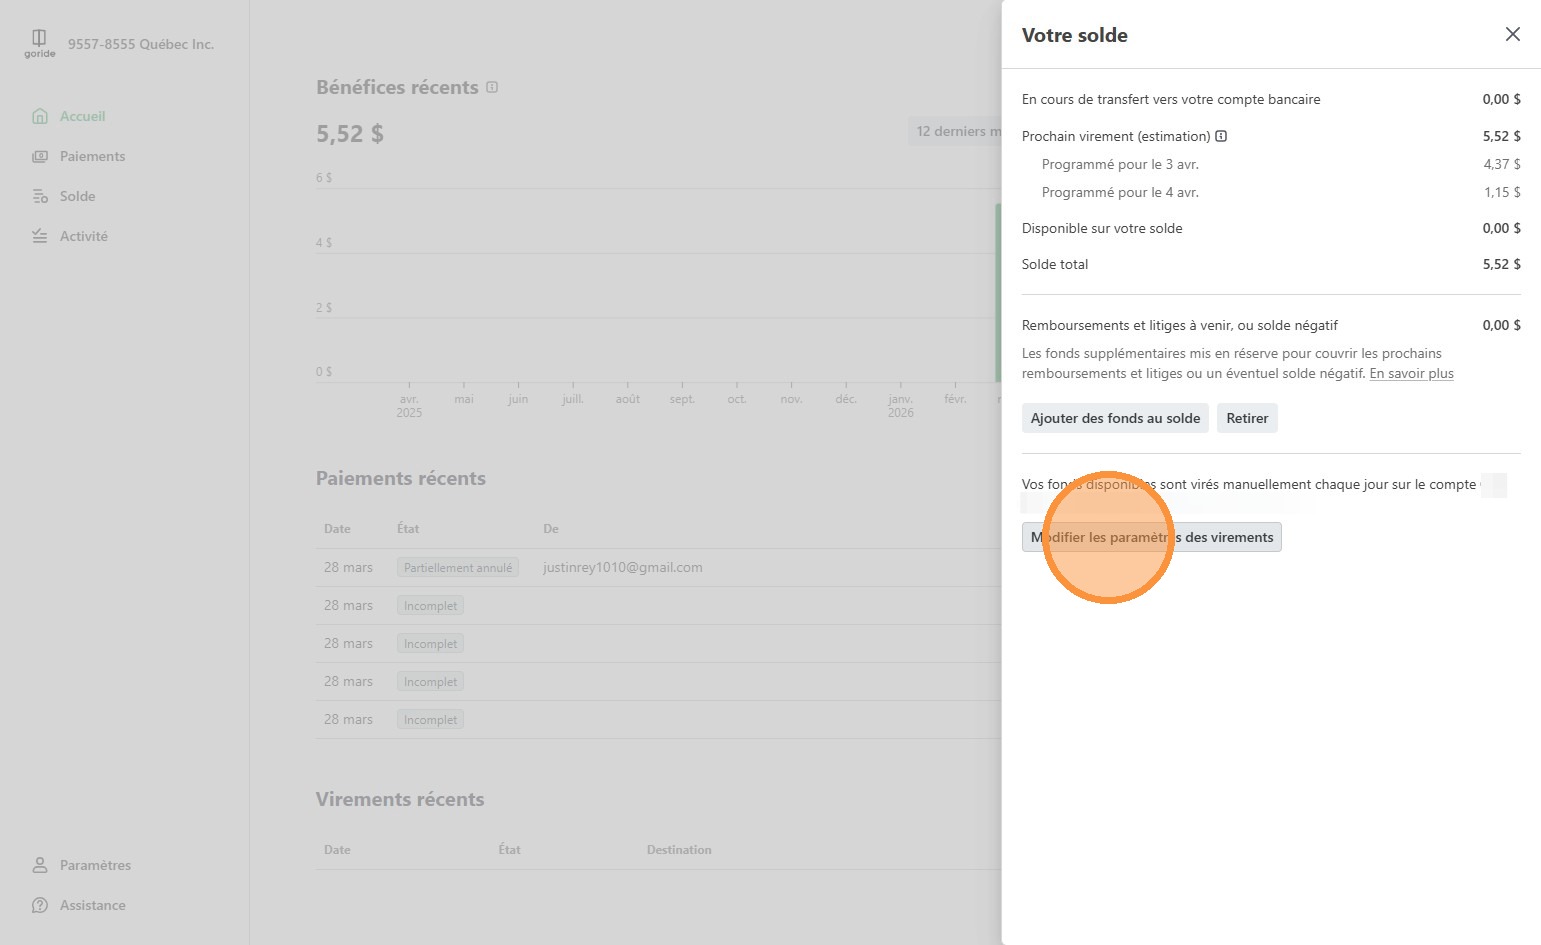
7. The side pannel will show you the upcoming transfers from Stripe to your bank account
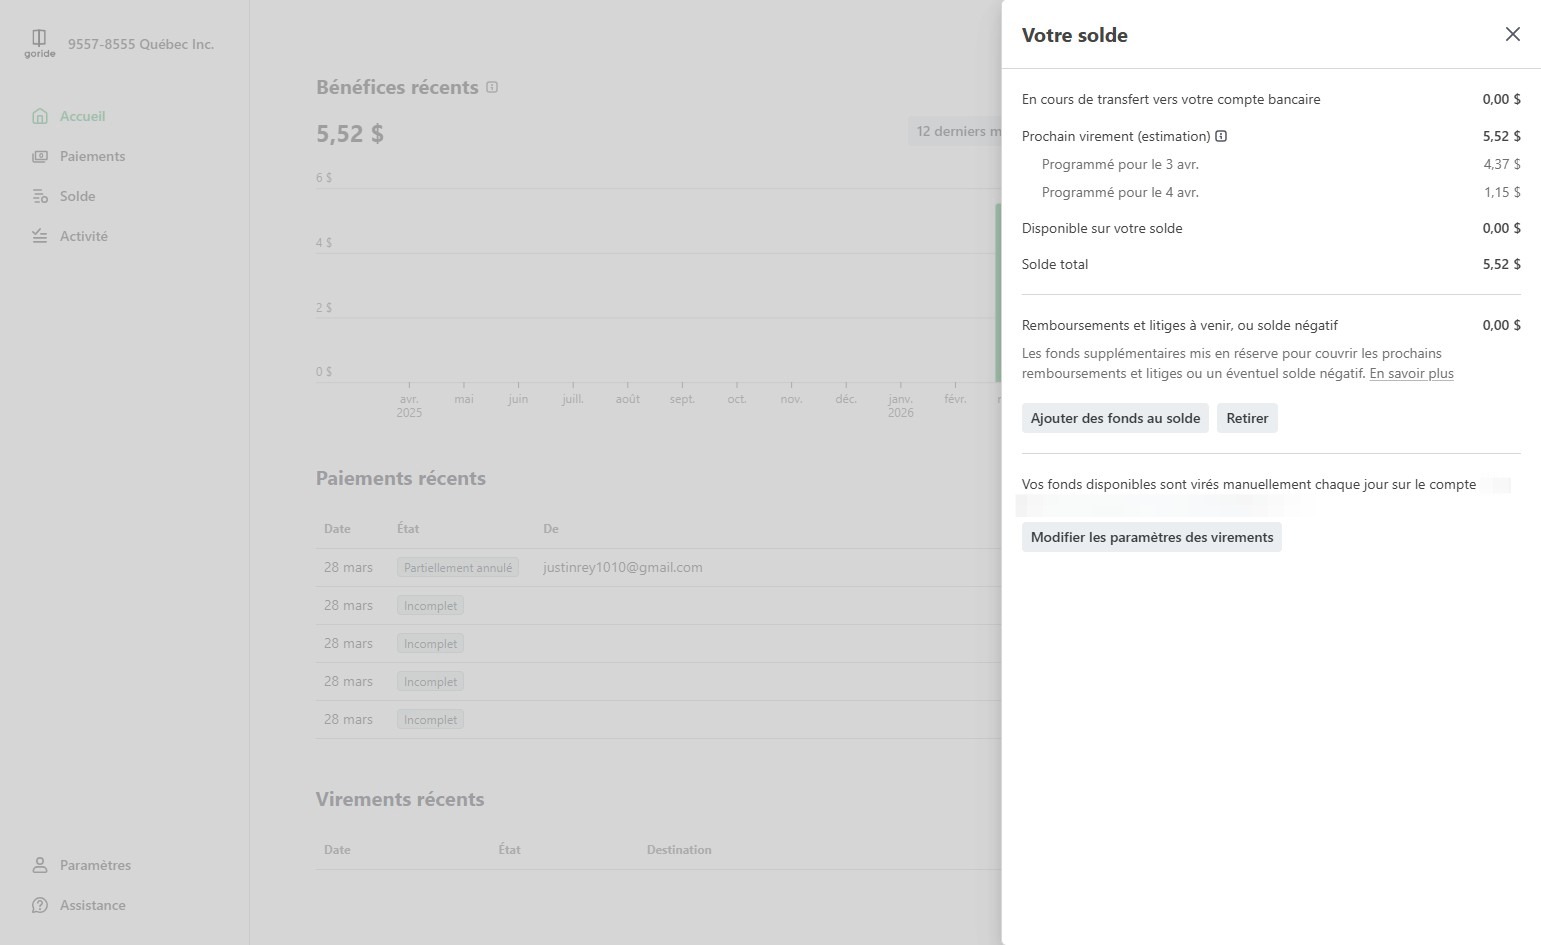
8. To edit the payour schedule, click "Modifier les paramètres des virements"
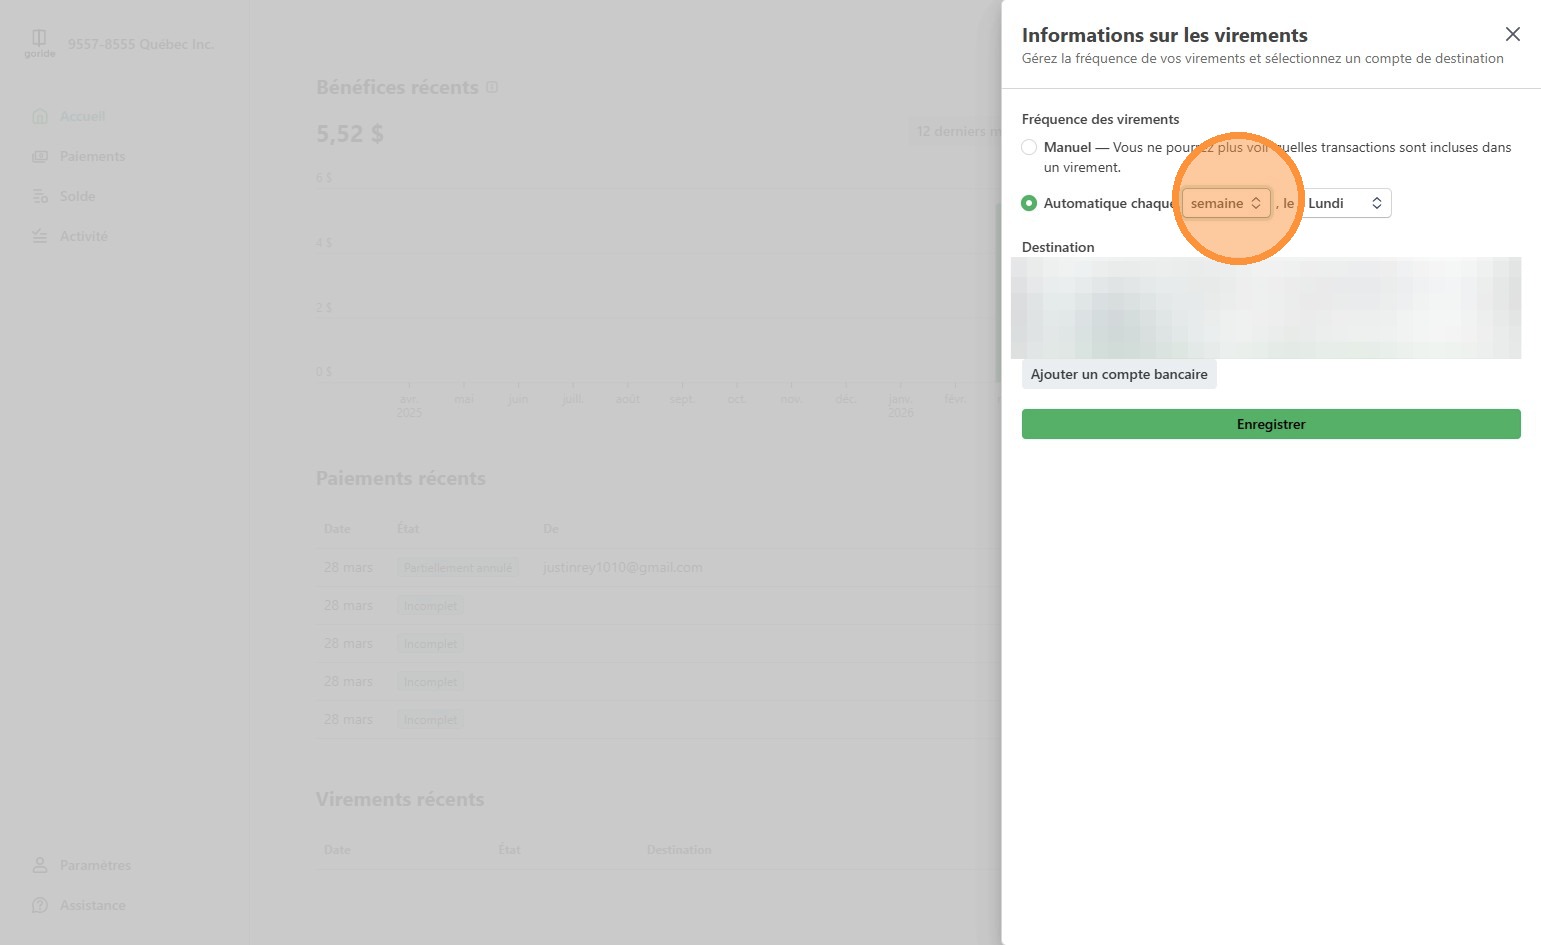
9. Choose your desired payout parameters
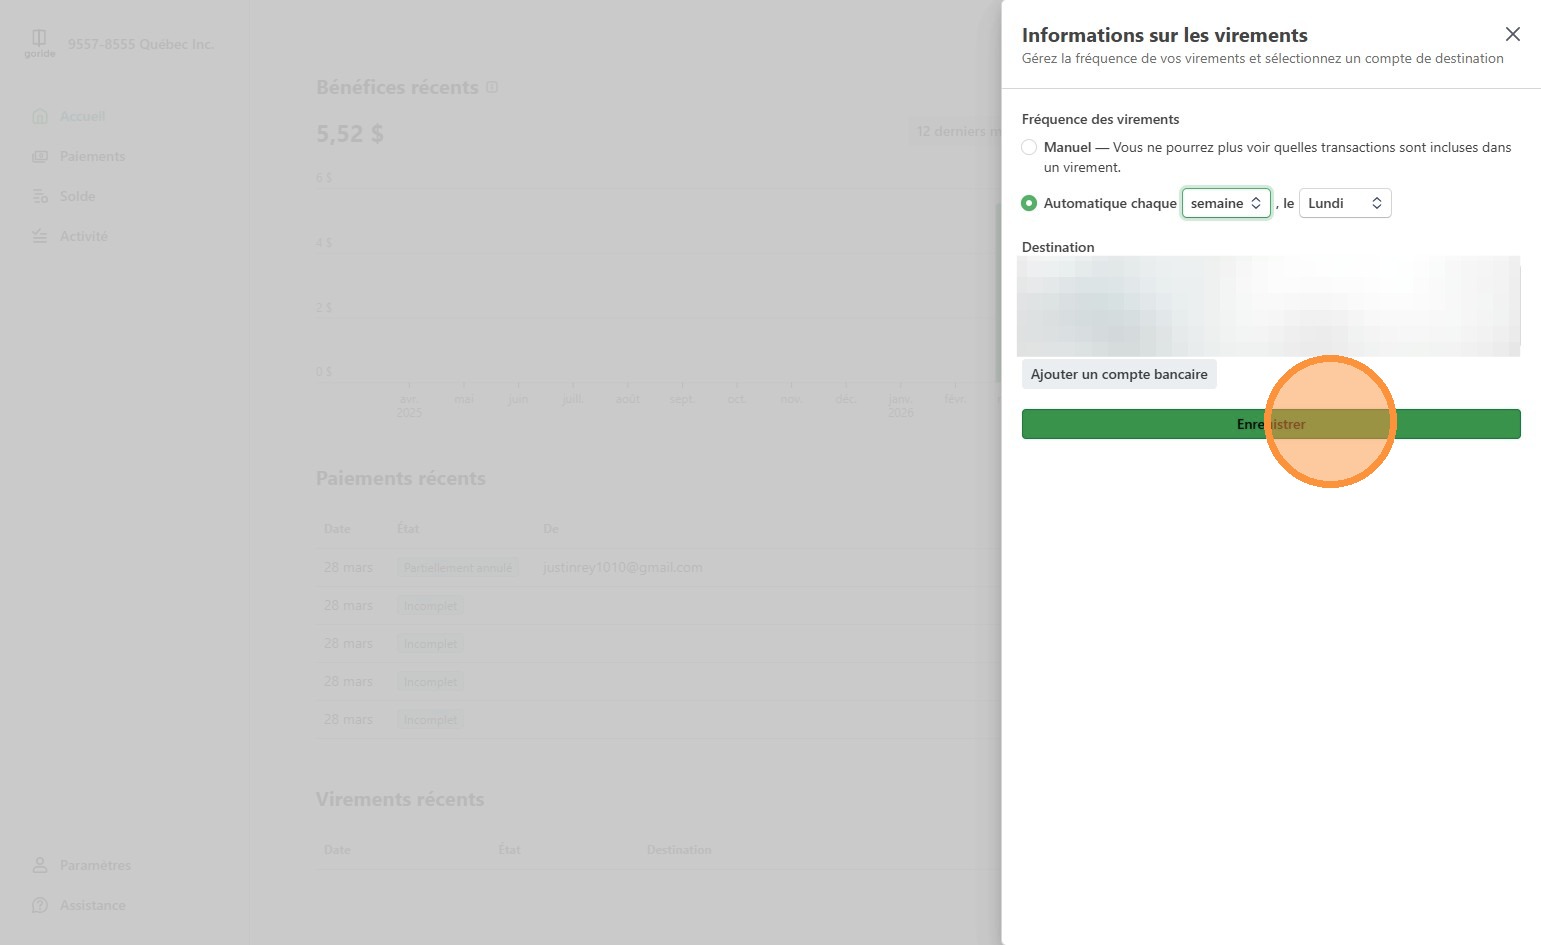
10. Click "Enregistrer"
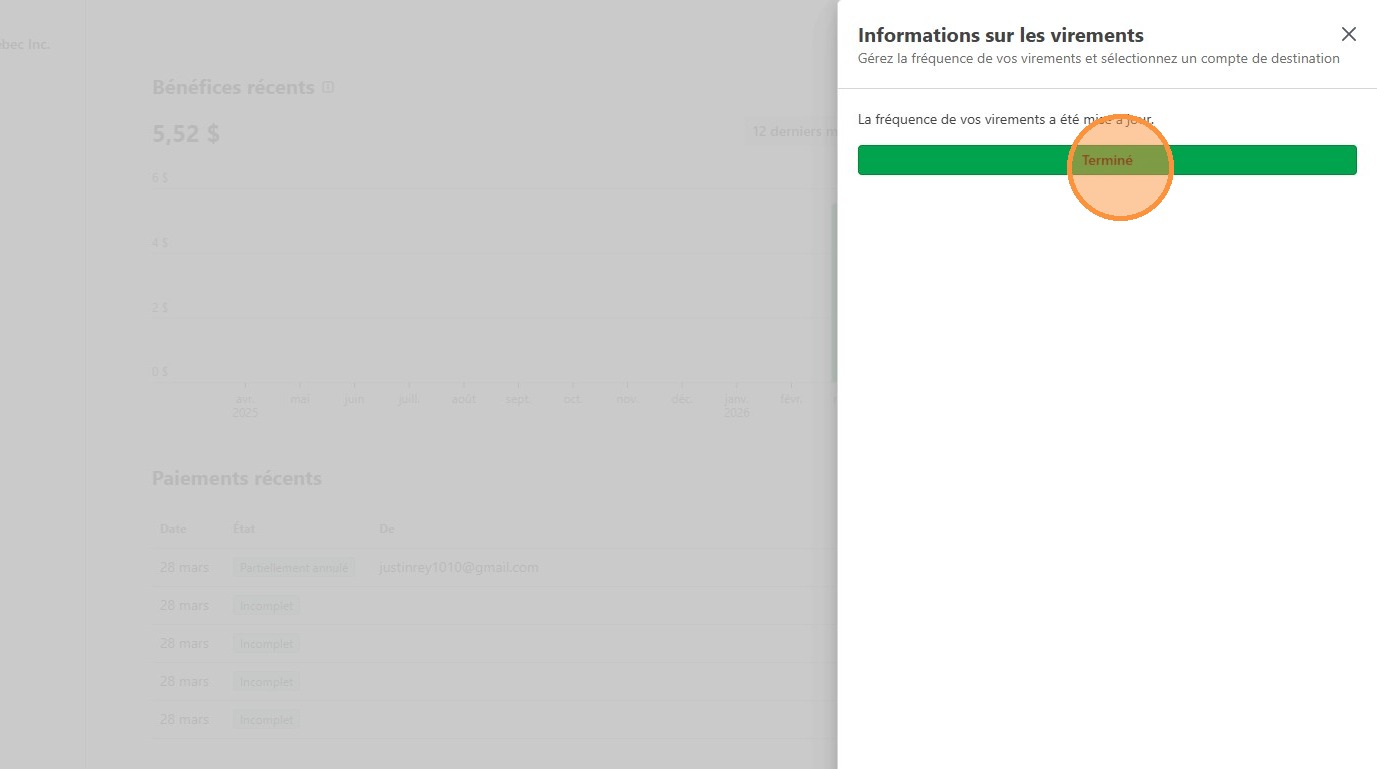
11. Click "Terminé"
View transaction history
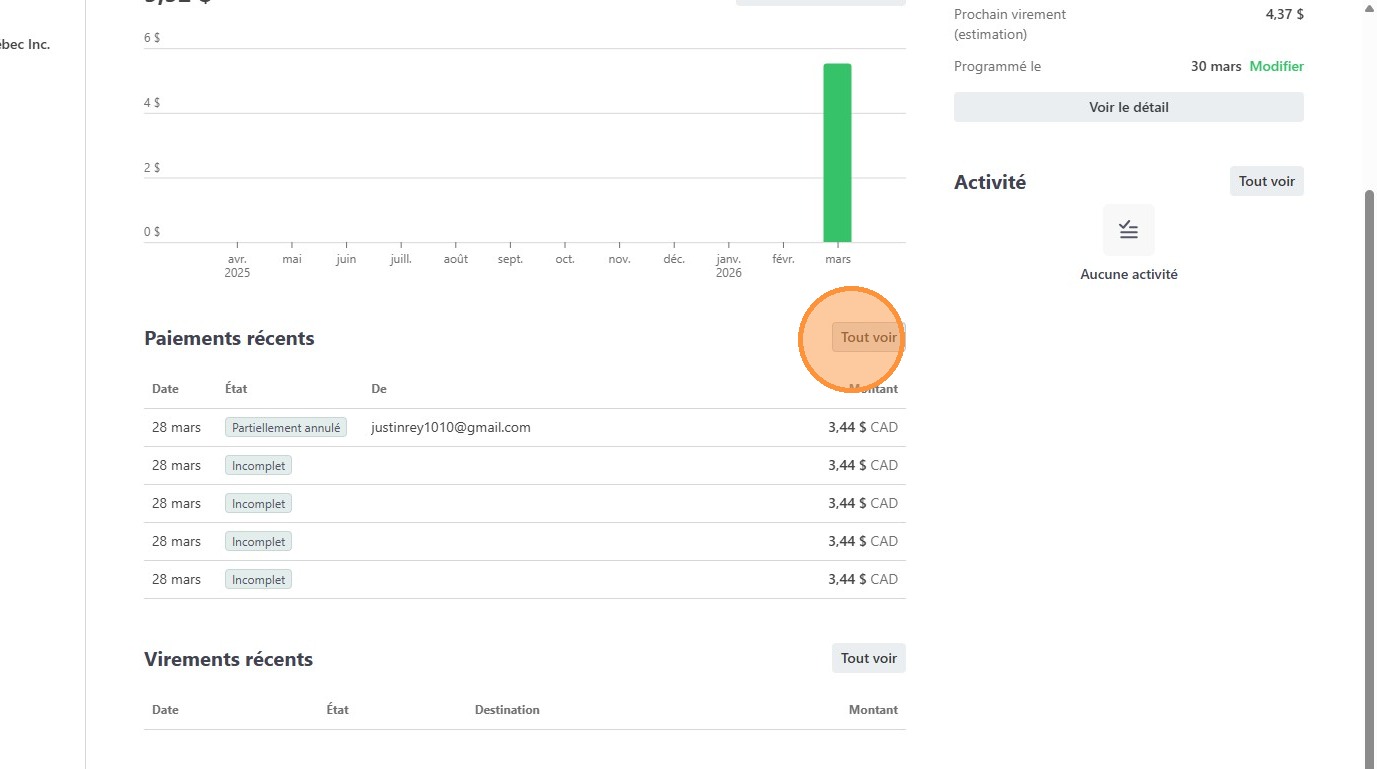
12. Click "Tout voir"
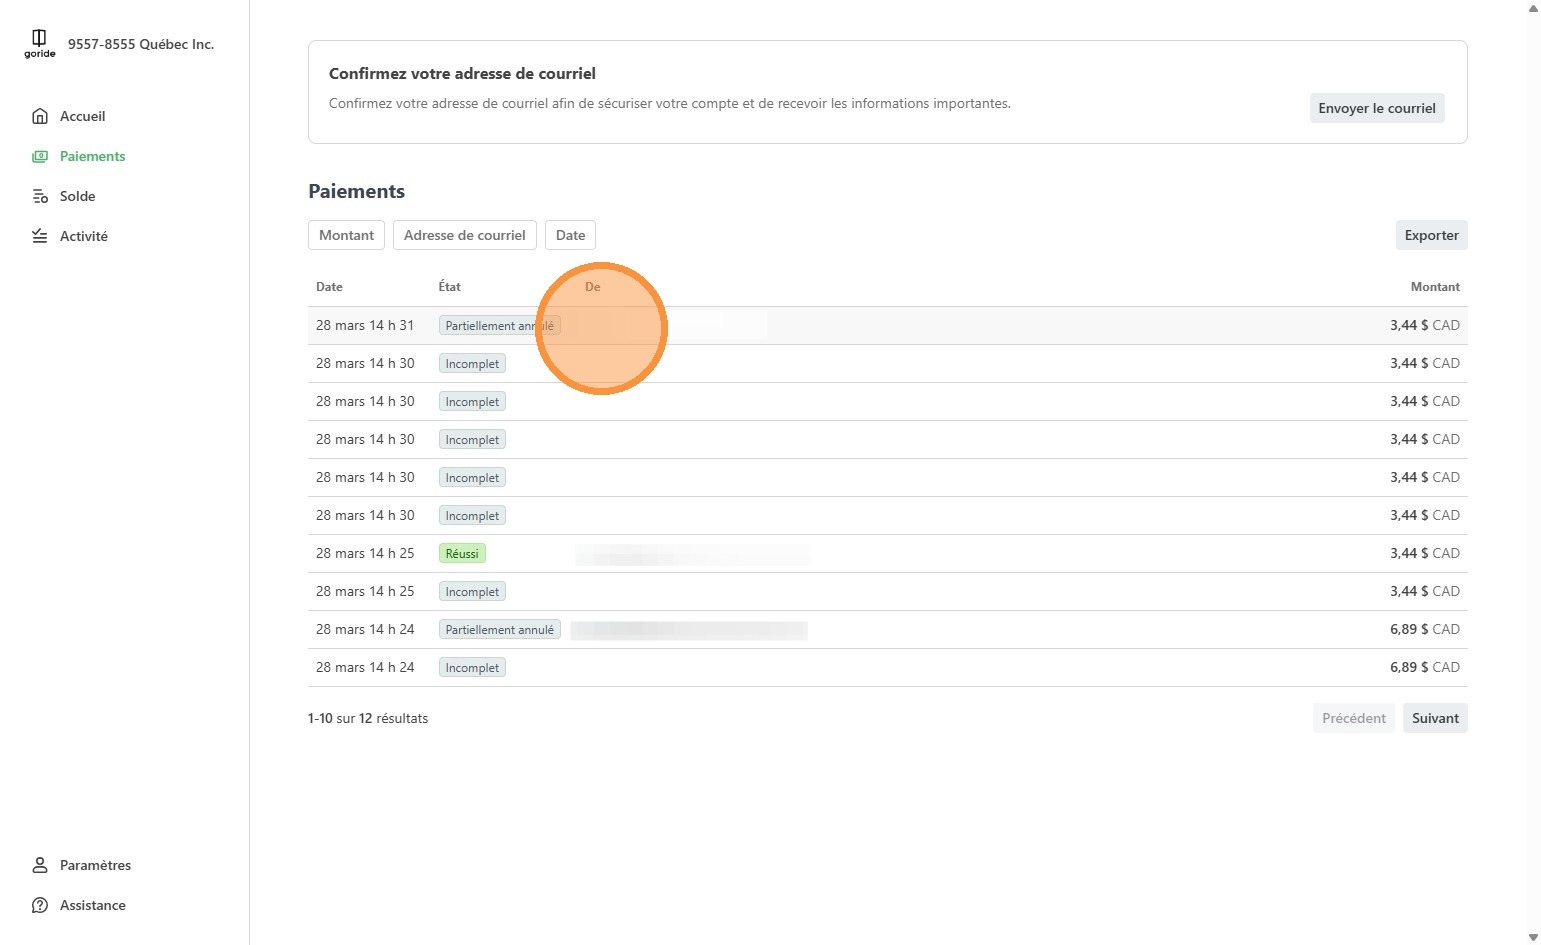
13. Click on any transaction you wish to review
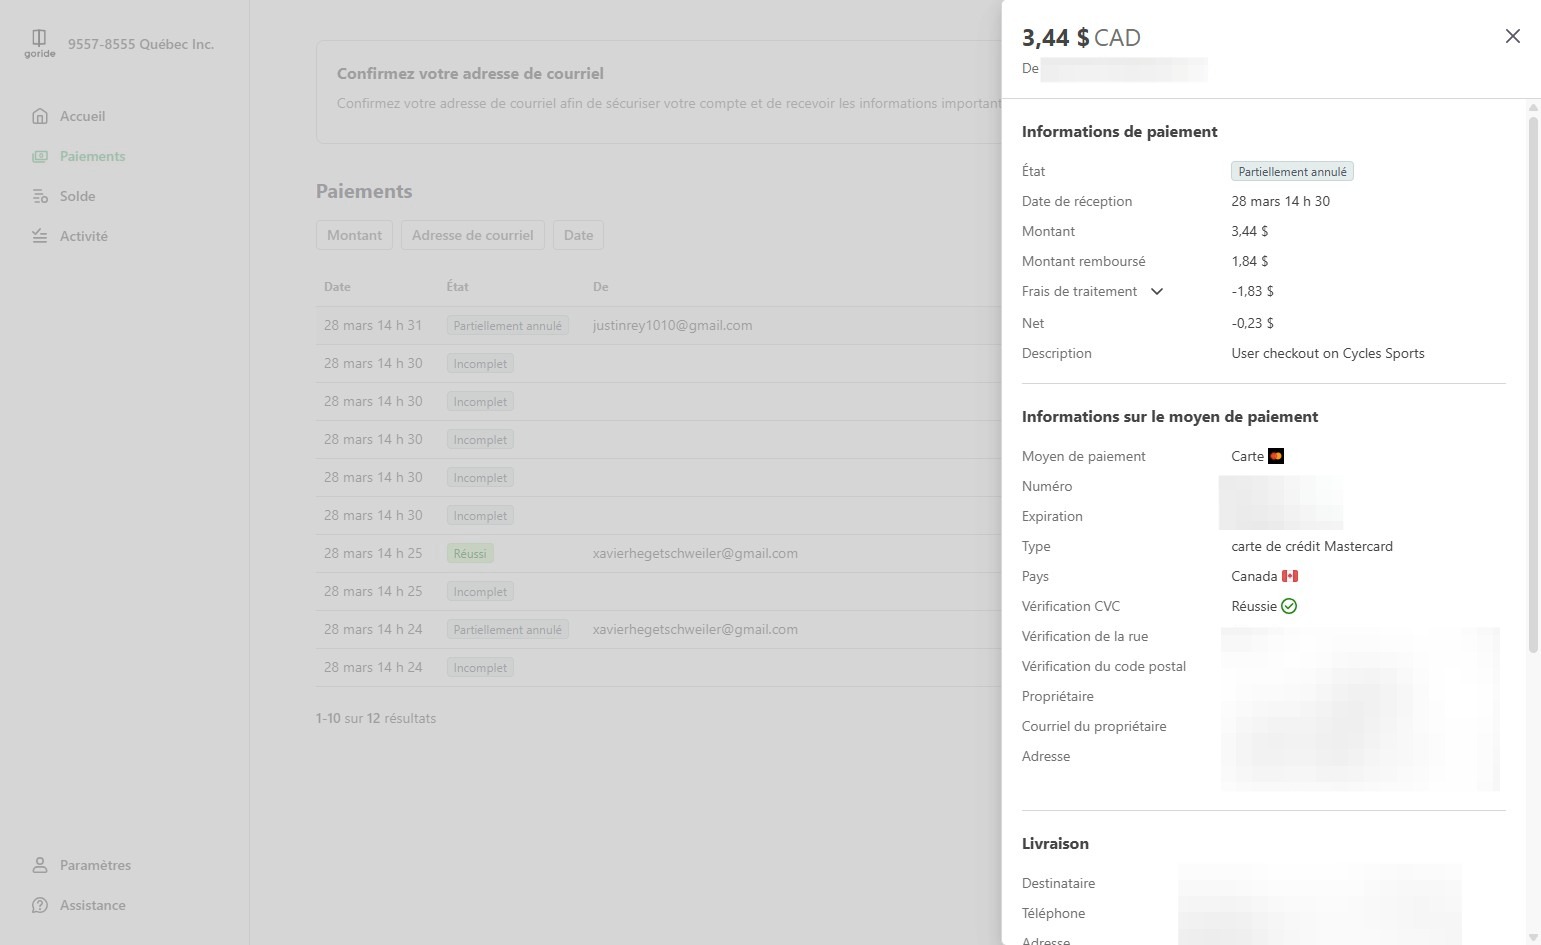
14. The side pannel shows the detailed information on the transaction. In this example, the order was cancelled and partially refunded, as per the terms and conditions (maximum 80% refund)
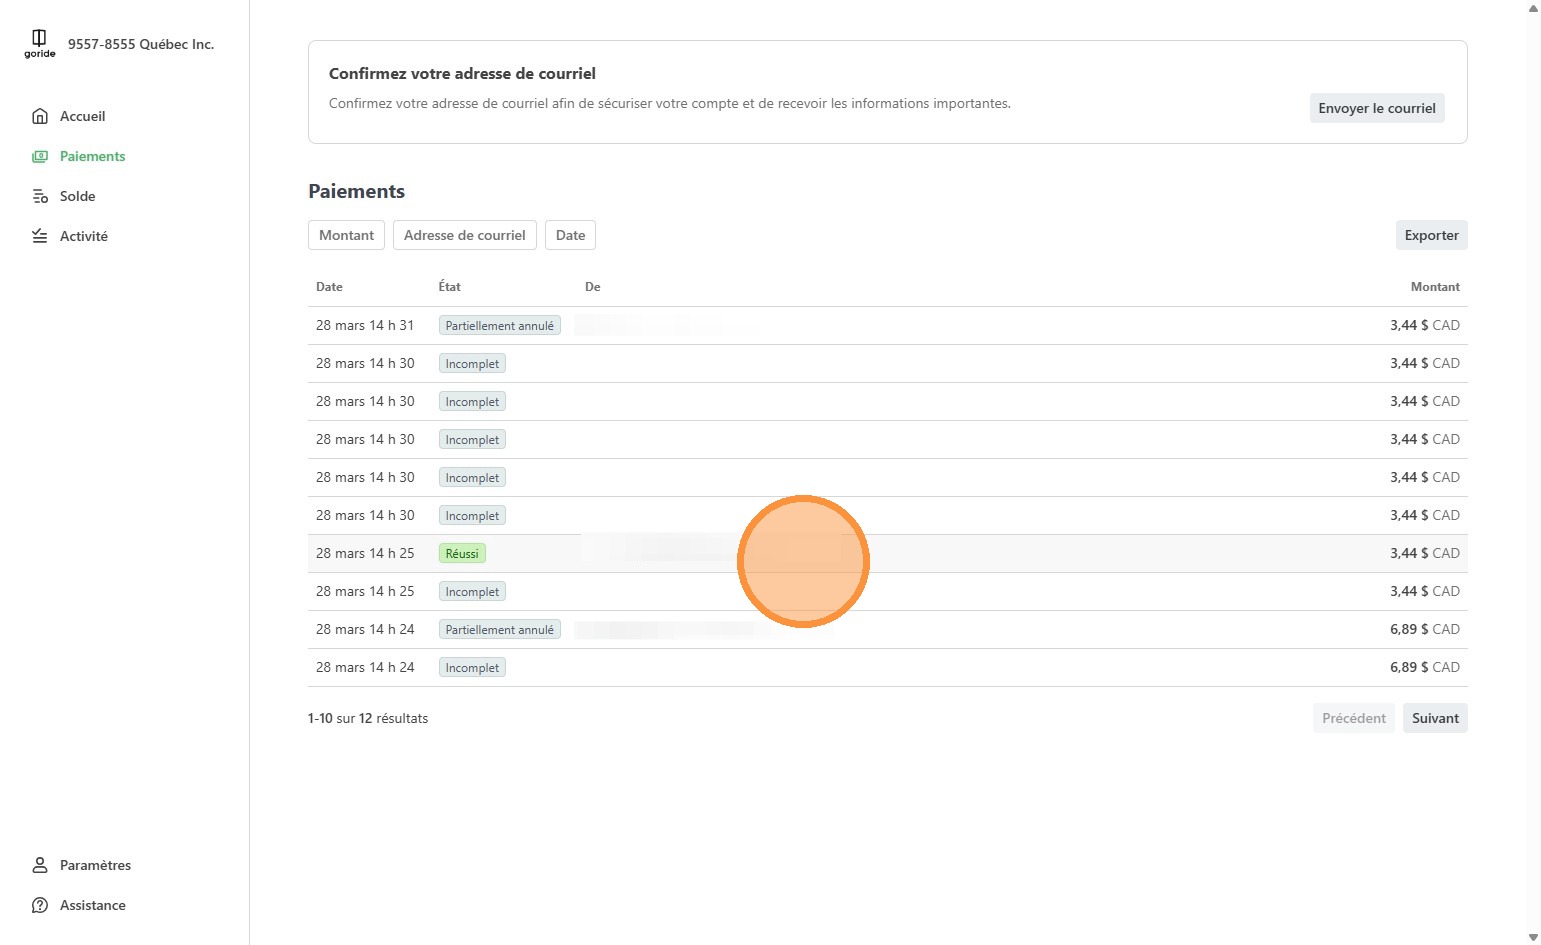
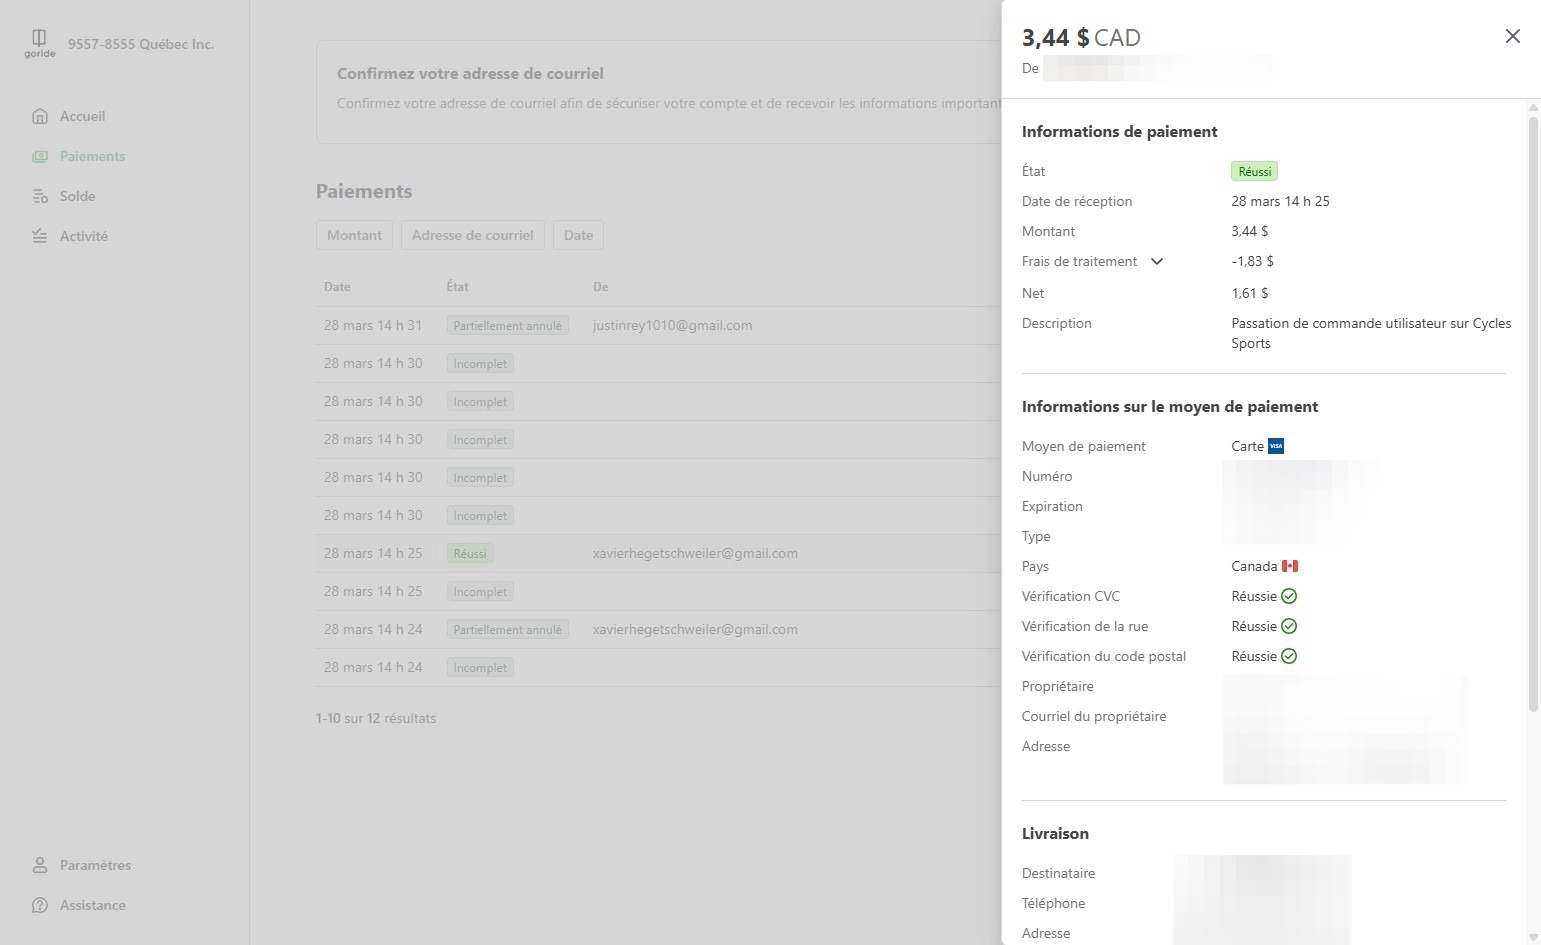
15. Let's view another example, in this case a transaction that has been completed and not cancelled.
16. The side pannel shows the detailed information on the transaction, including GoRide's commission (Frais de traitement, or application fees) as per your pricing agreement.
Export transaction data
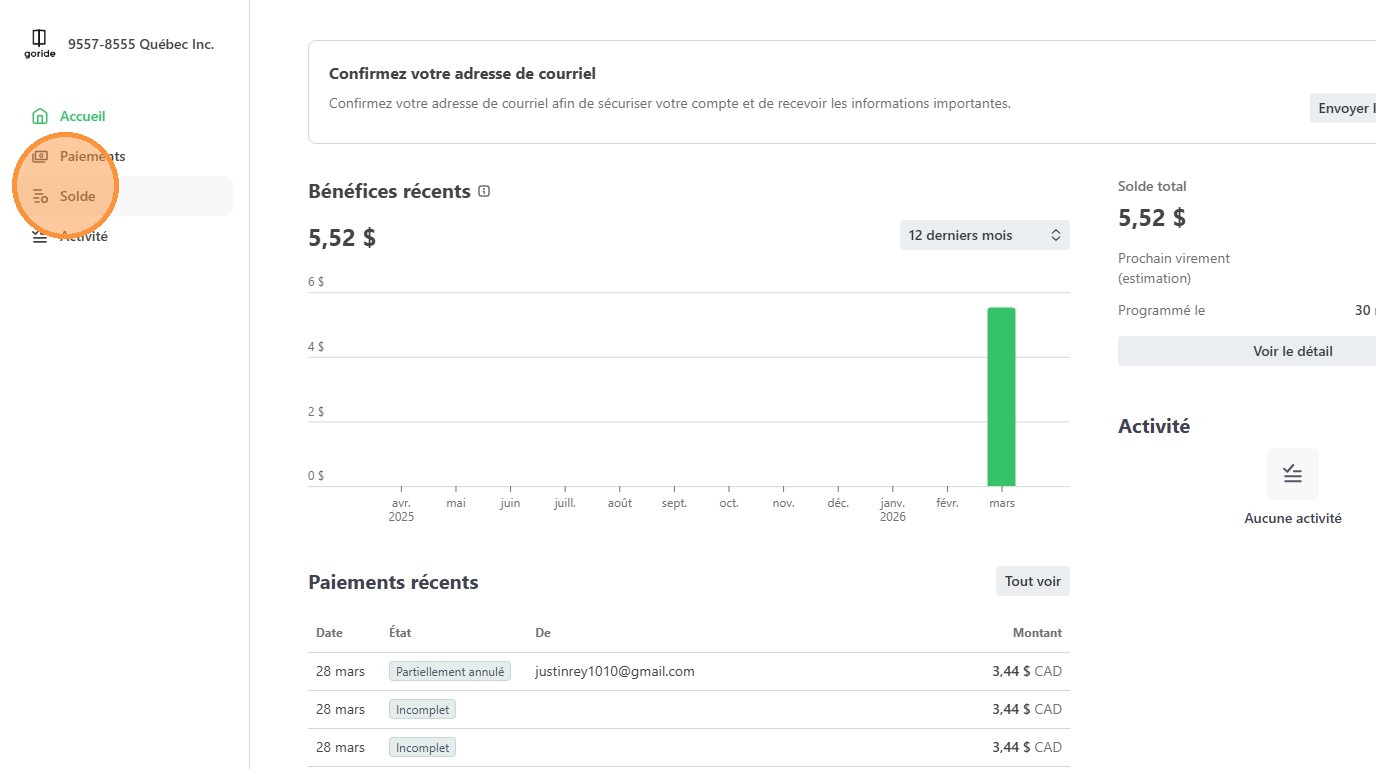
17. Click "Solde"
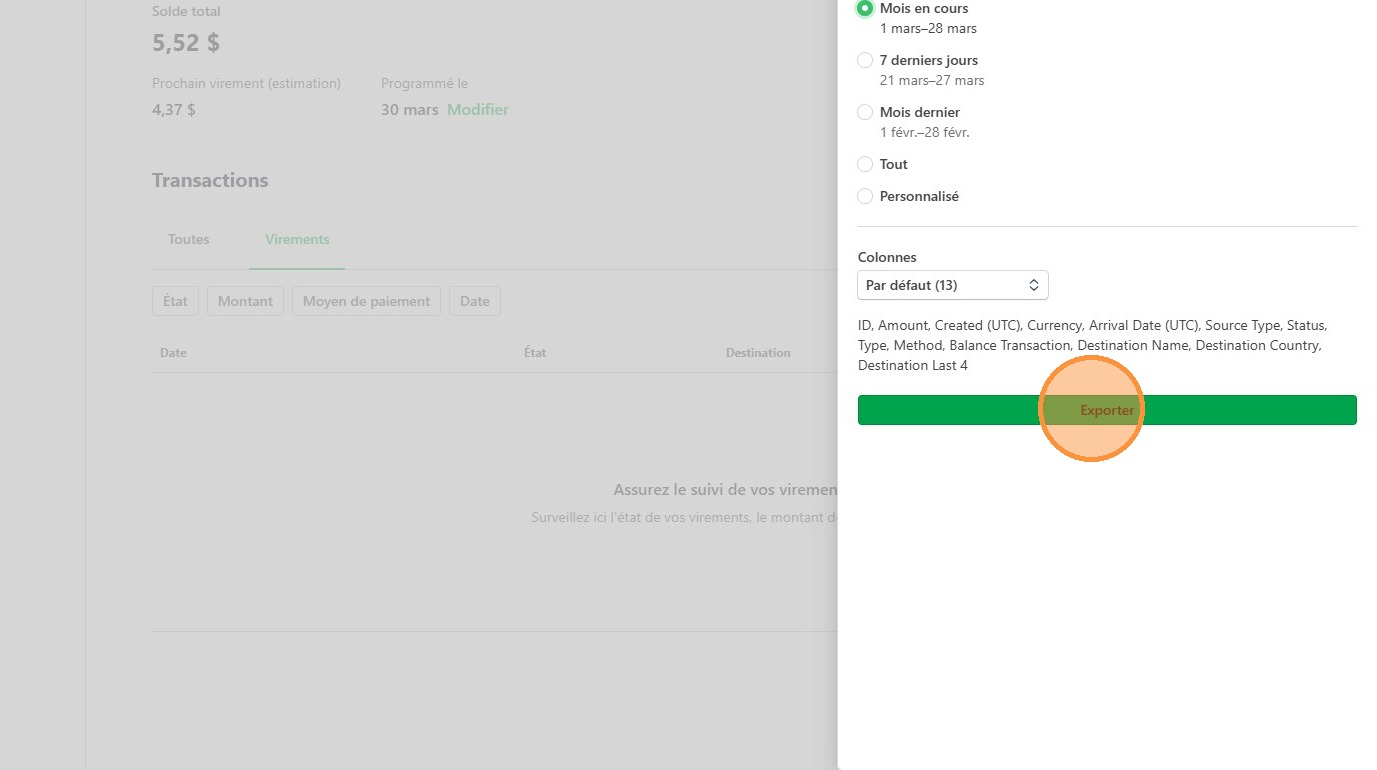
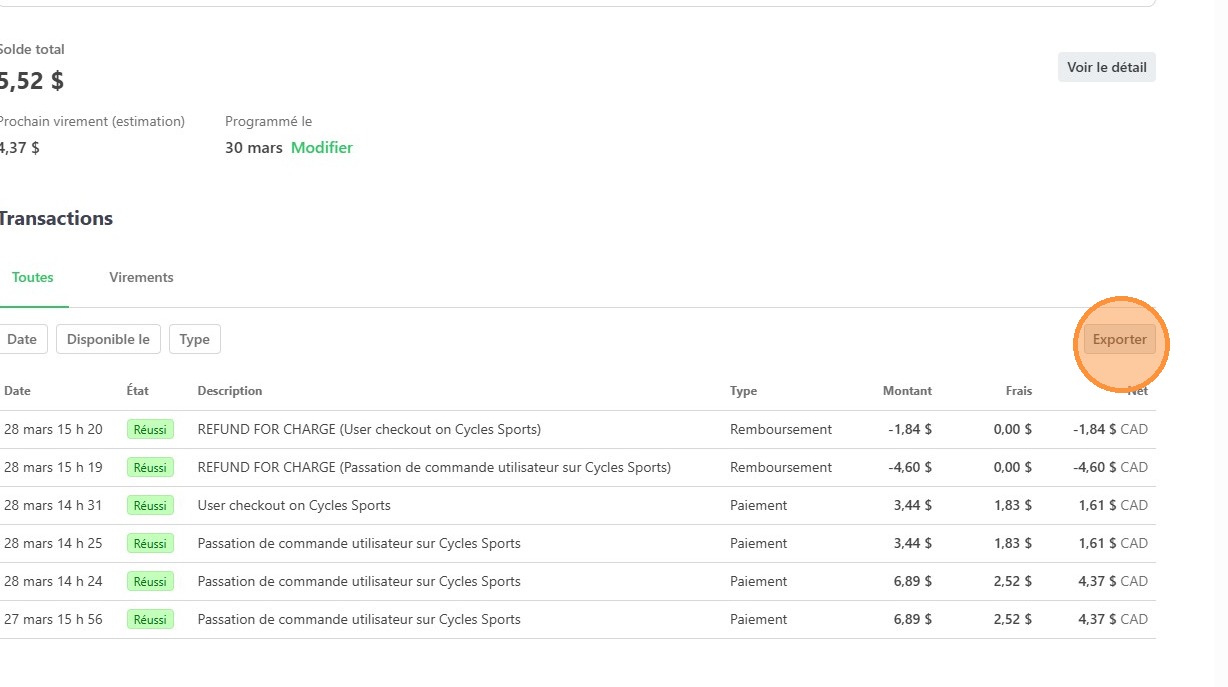
18. Click "Exporter"
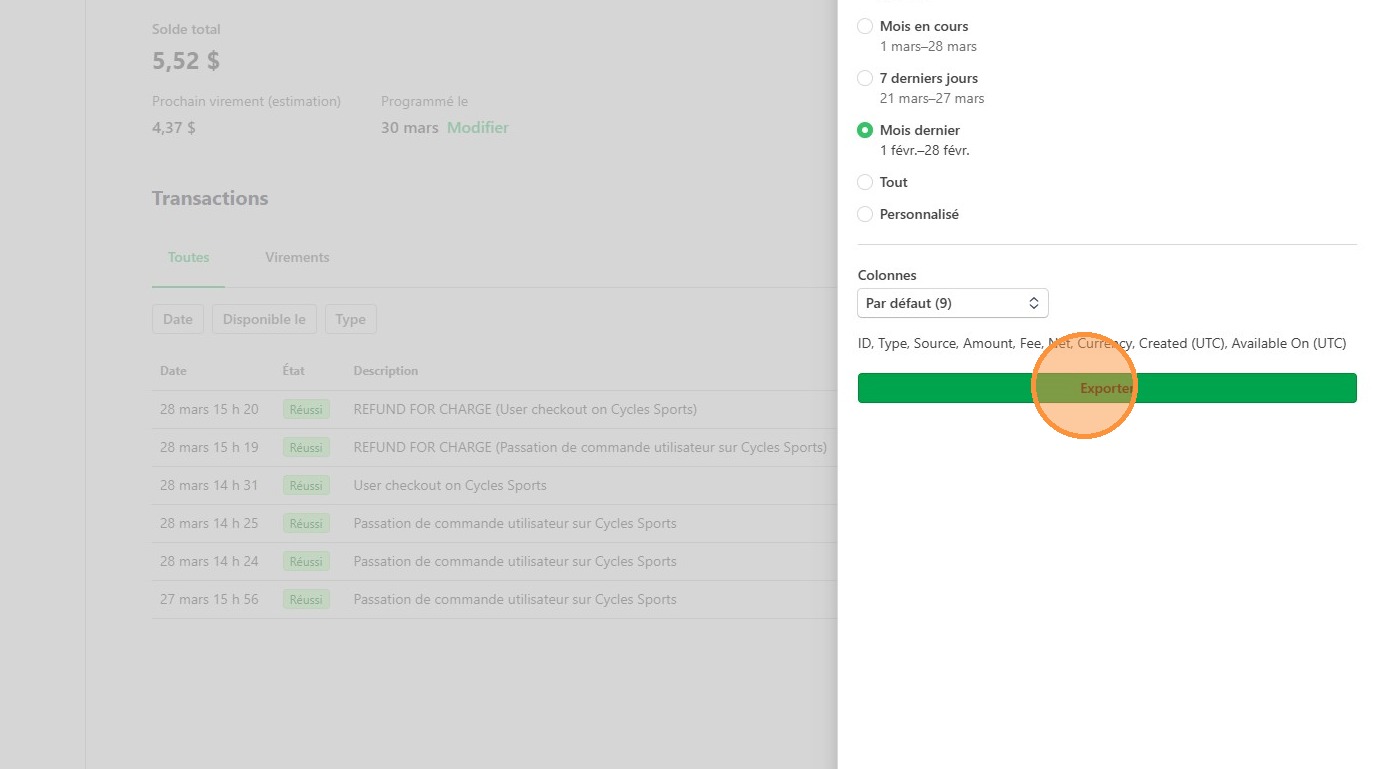
19. Choose the timeframe for which you want to export the data.
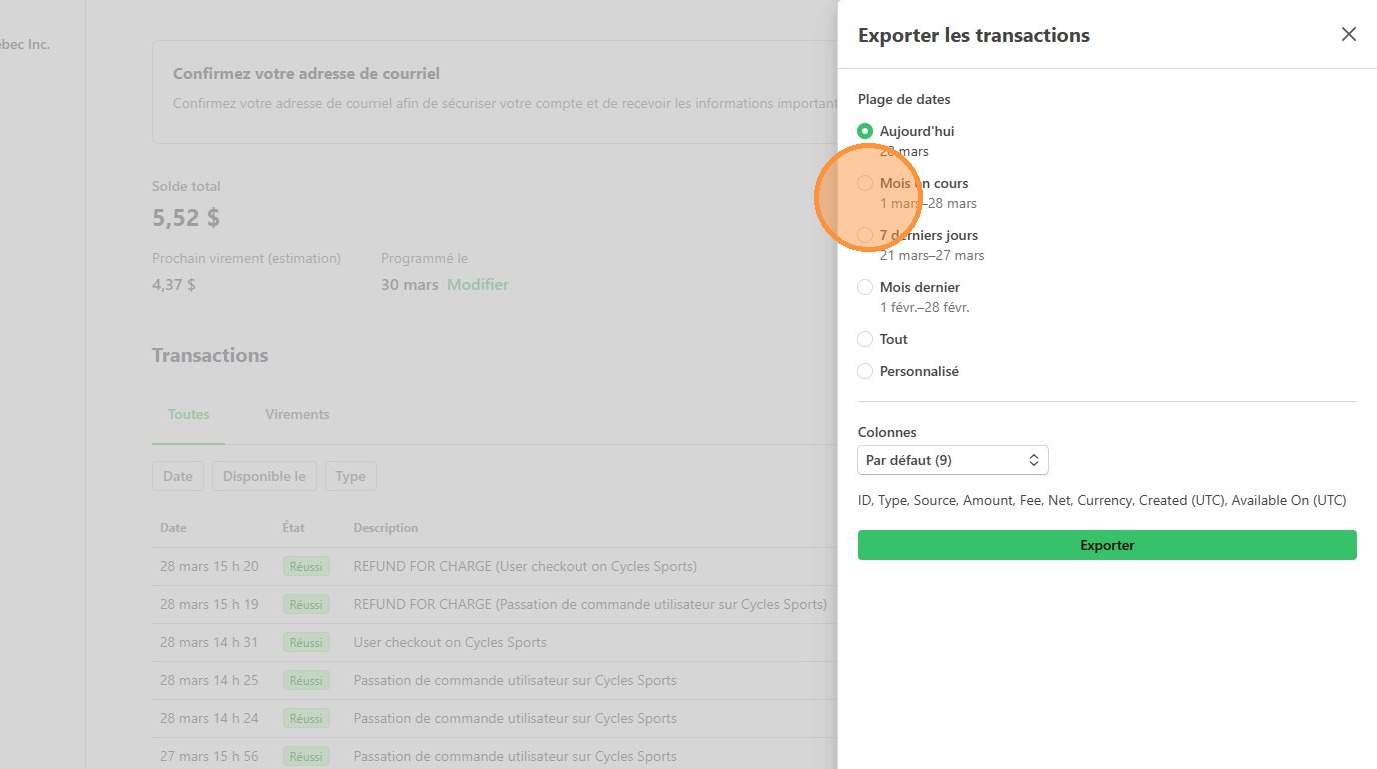
20. Click "Exporter"
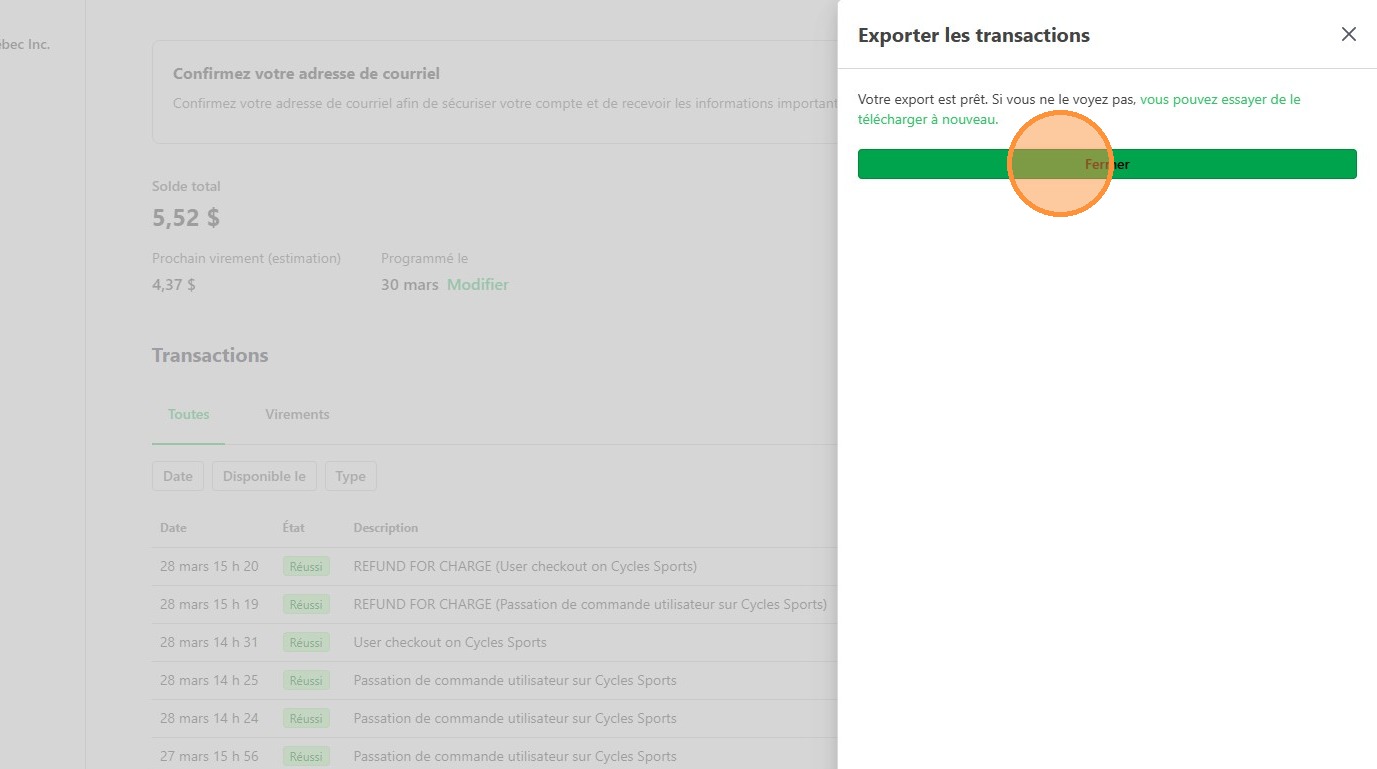
21. Click "Fermer"
Export payout data for account reconciliation
22. Click "Solde"

23. Click "Virements"
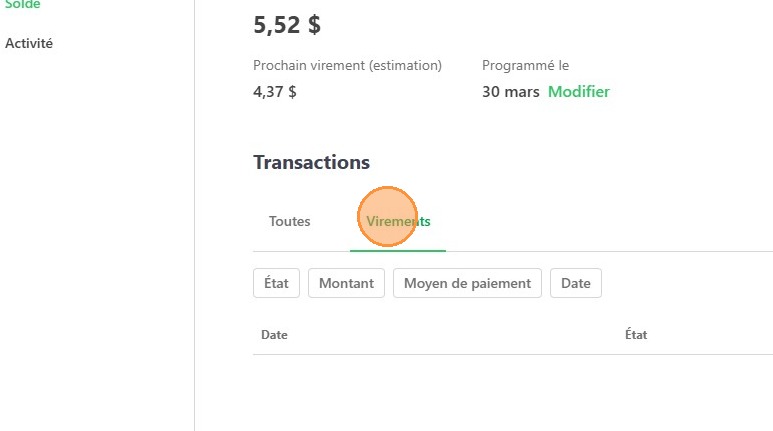
24. Once you start receiving payouts from Stripe, transfers to your bank account will appear here.
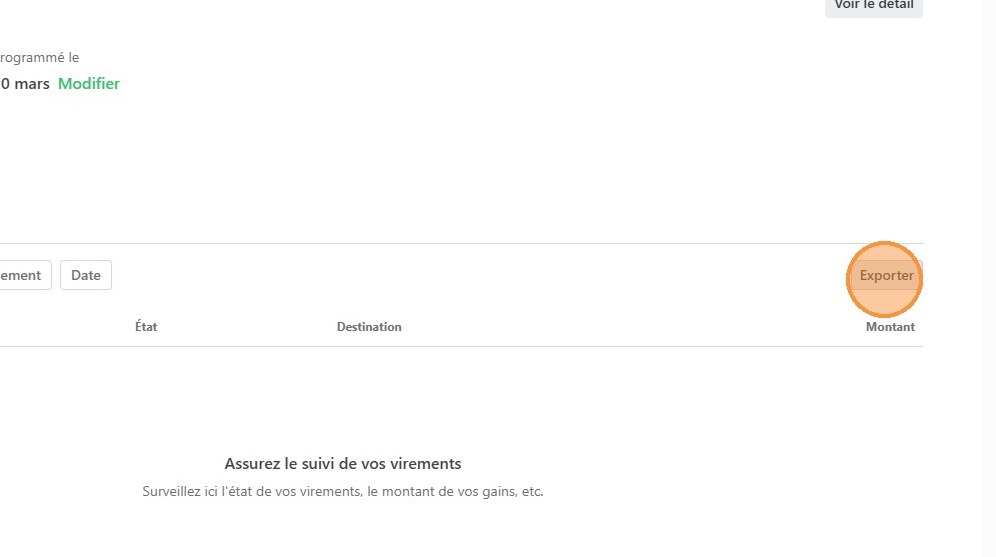
To extract the data, click "Exporter"
25. Choose the timeframe for which you want to export the data.
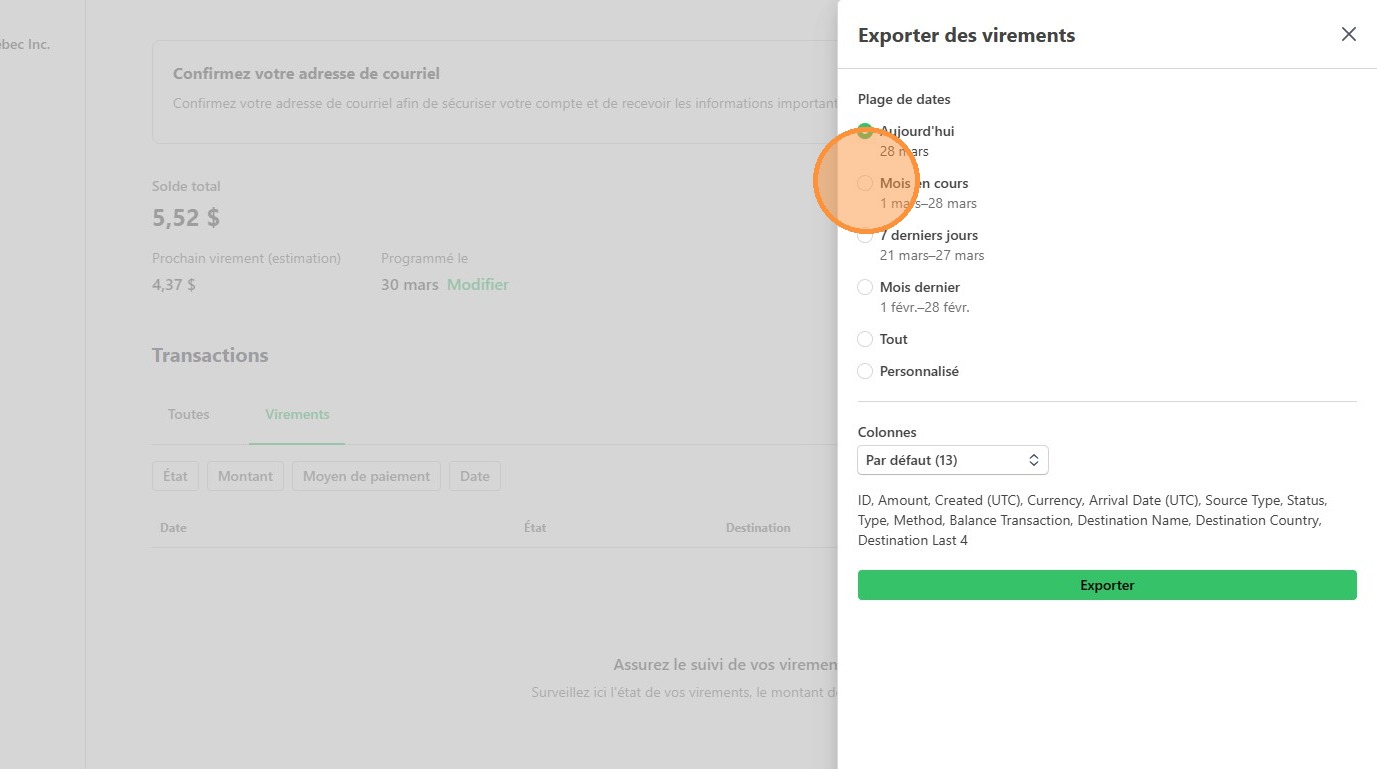
26. Click "Exporter"